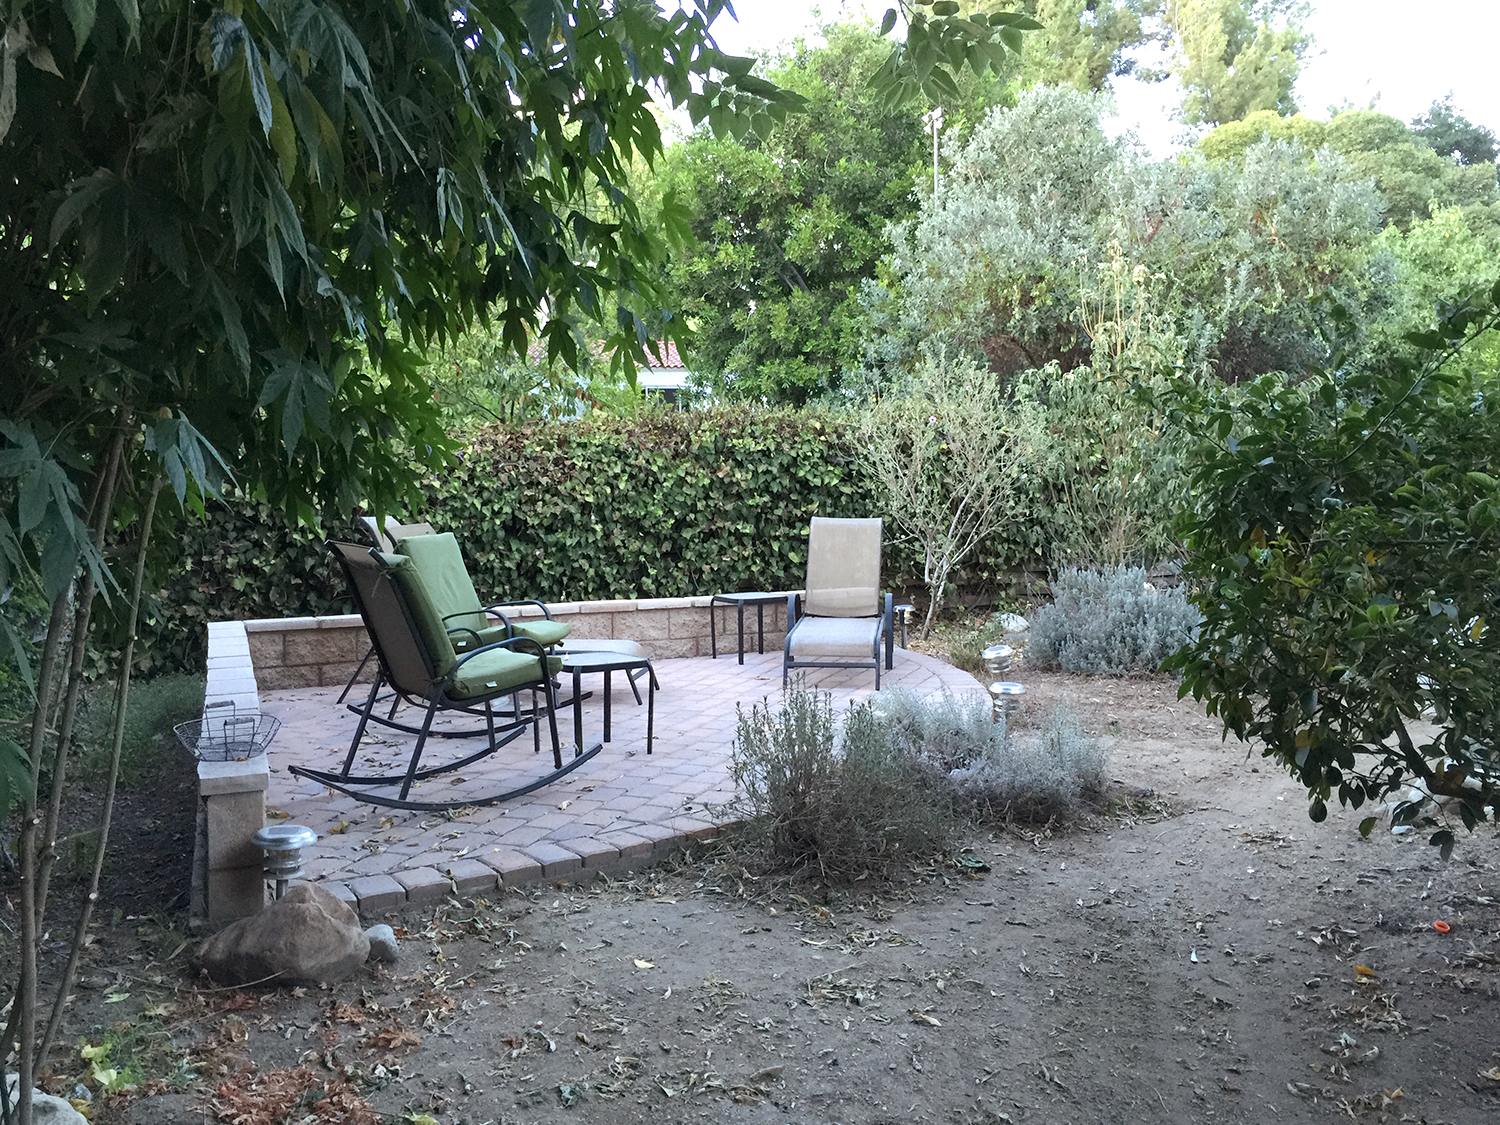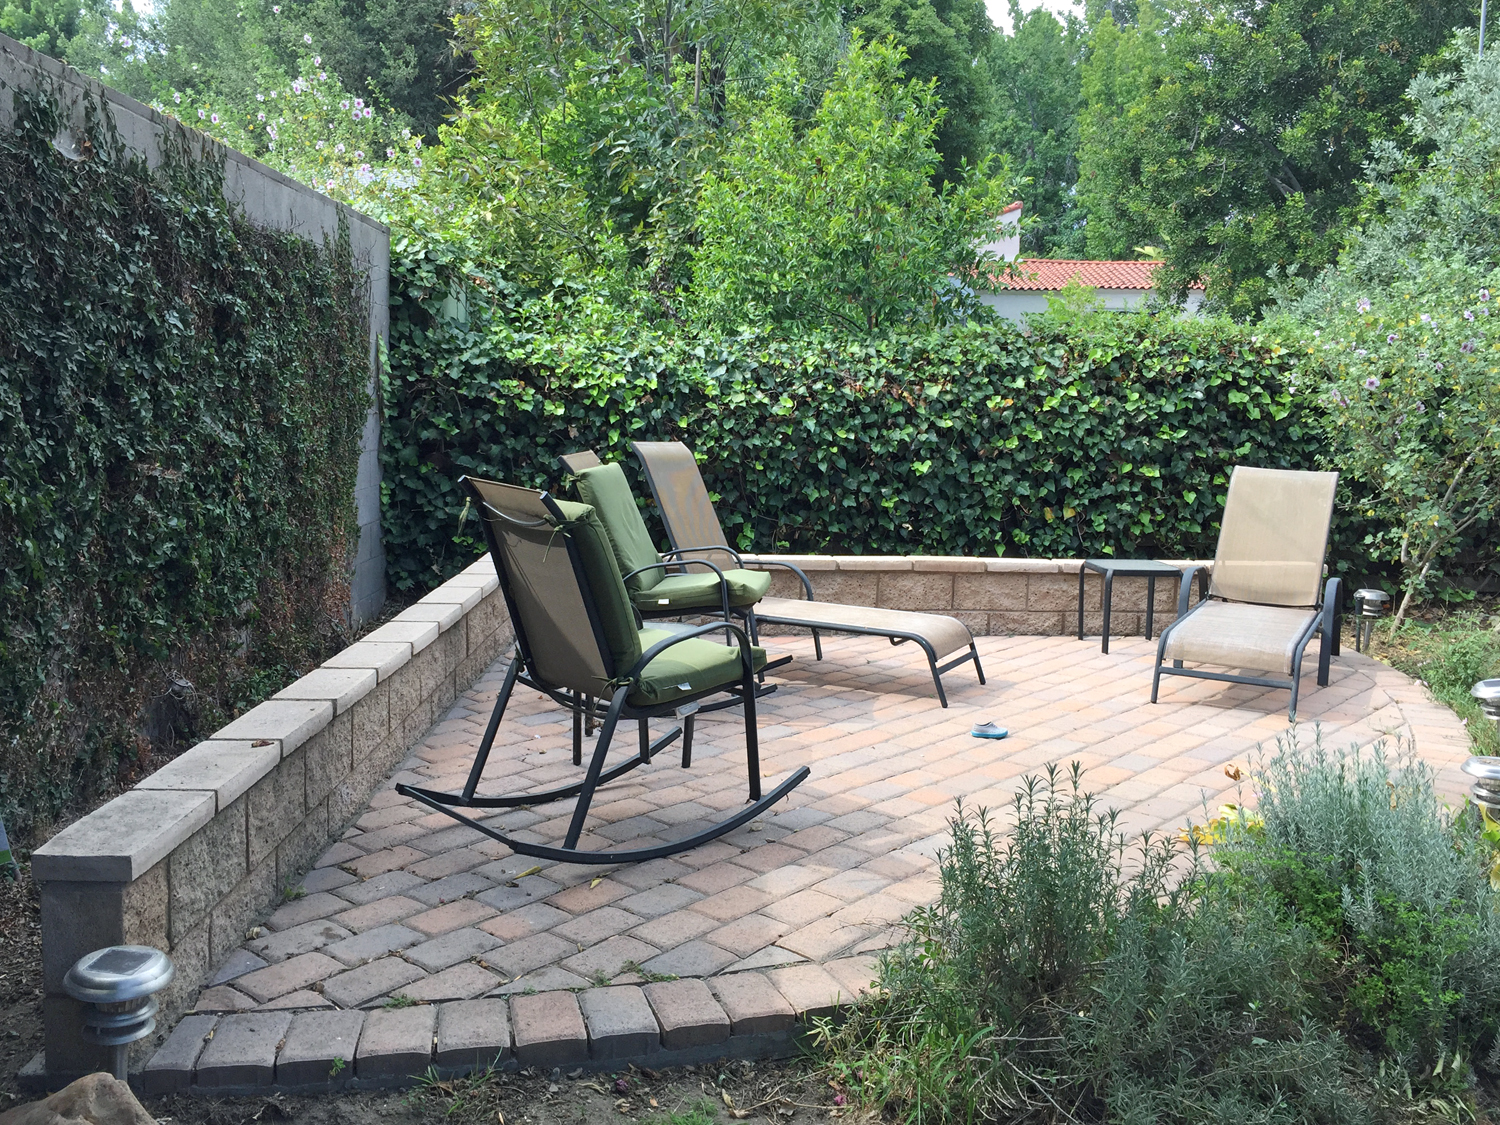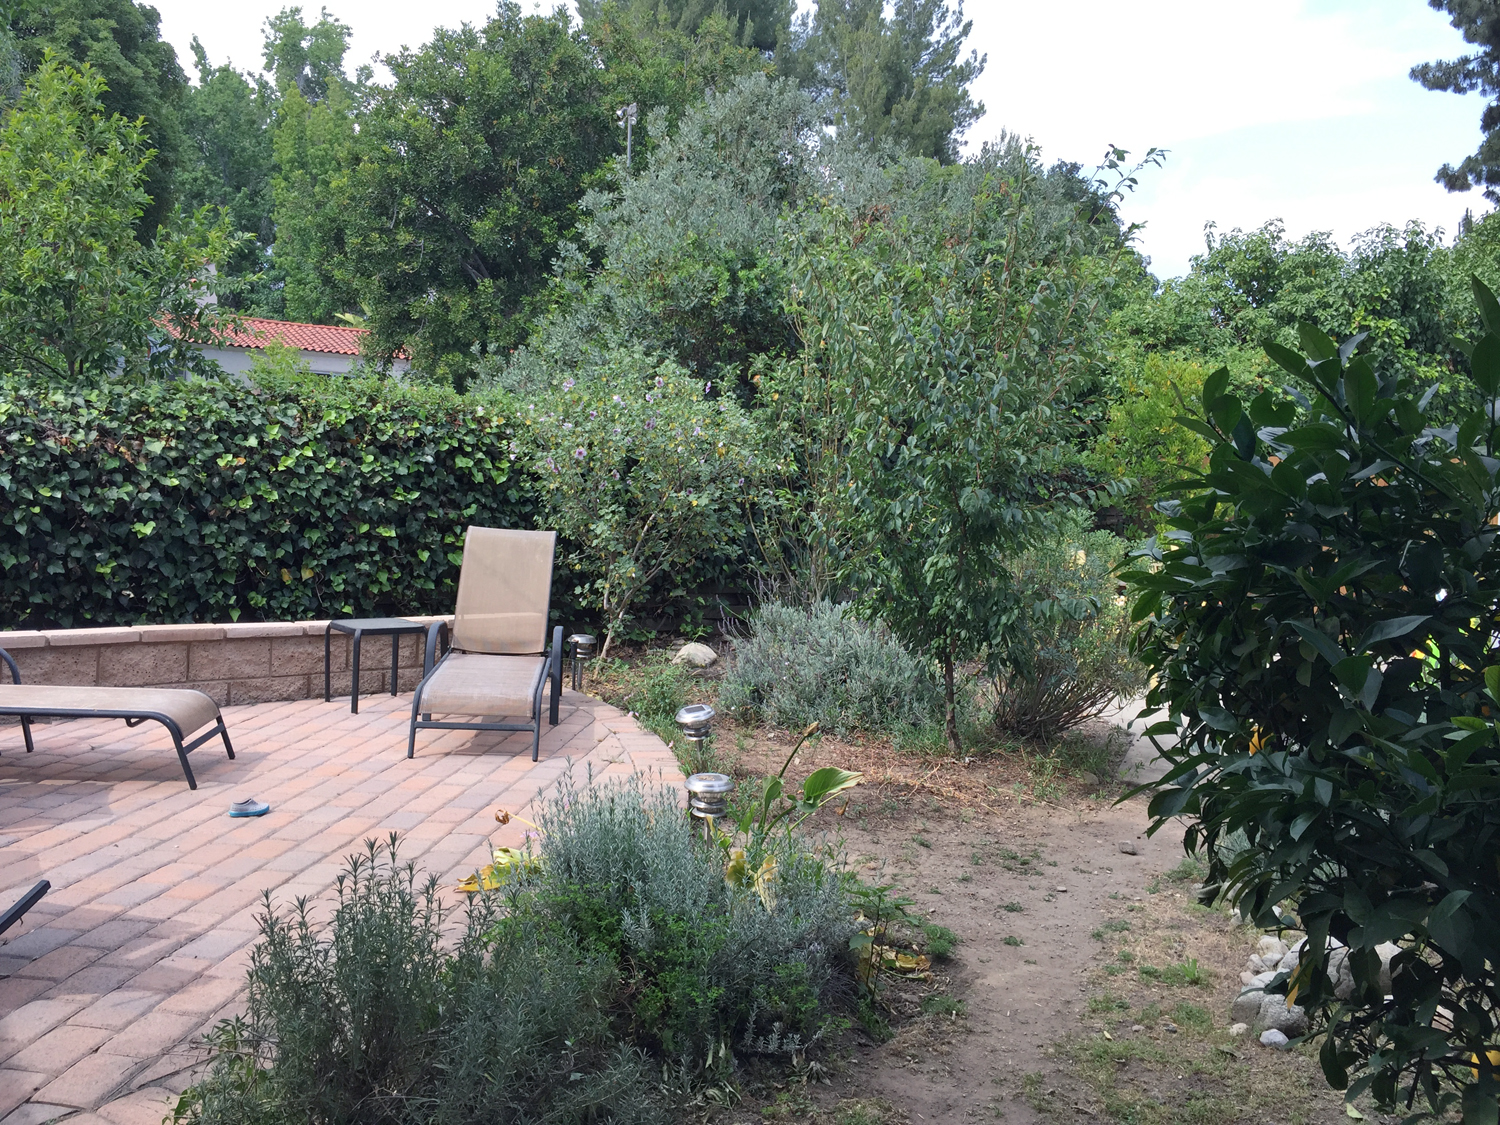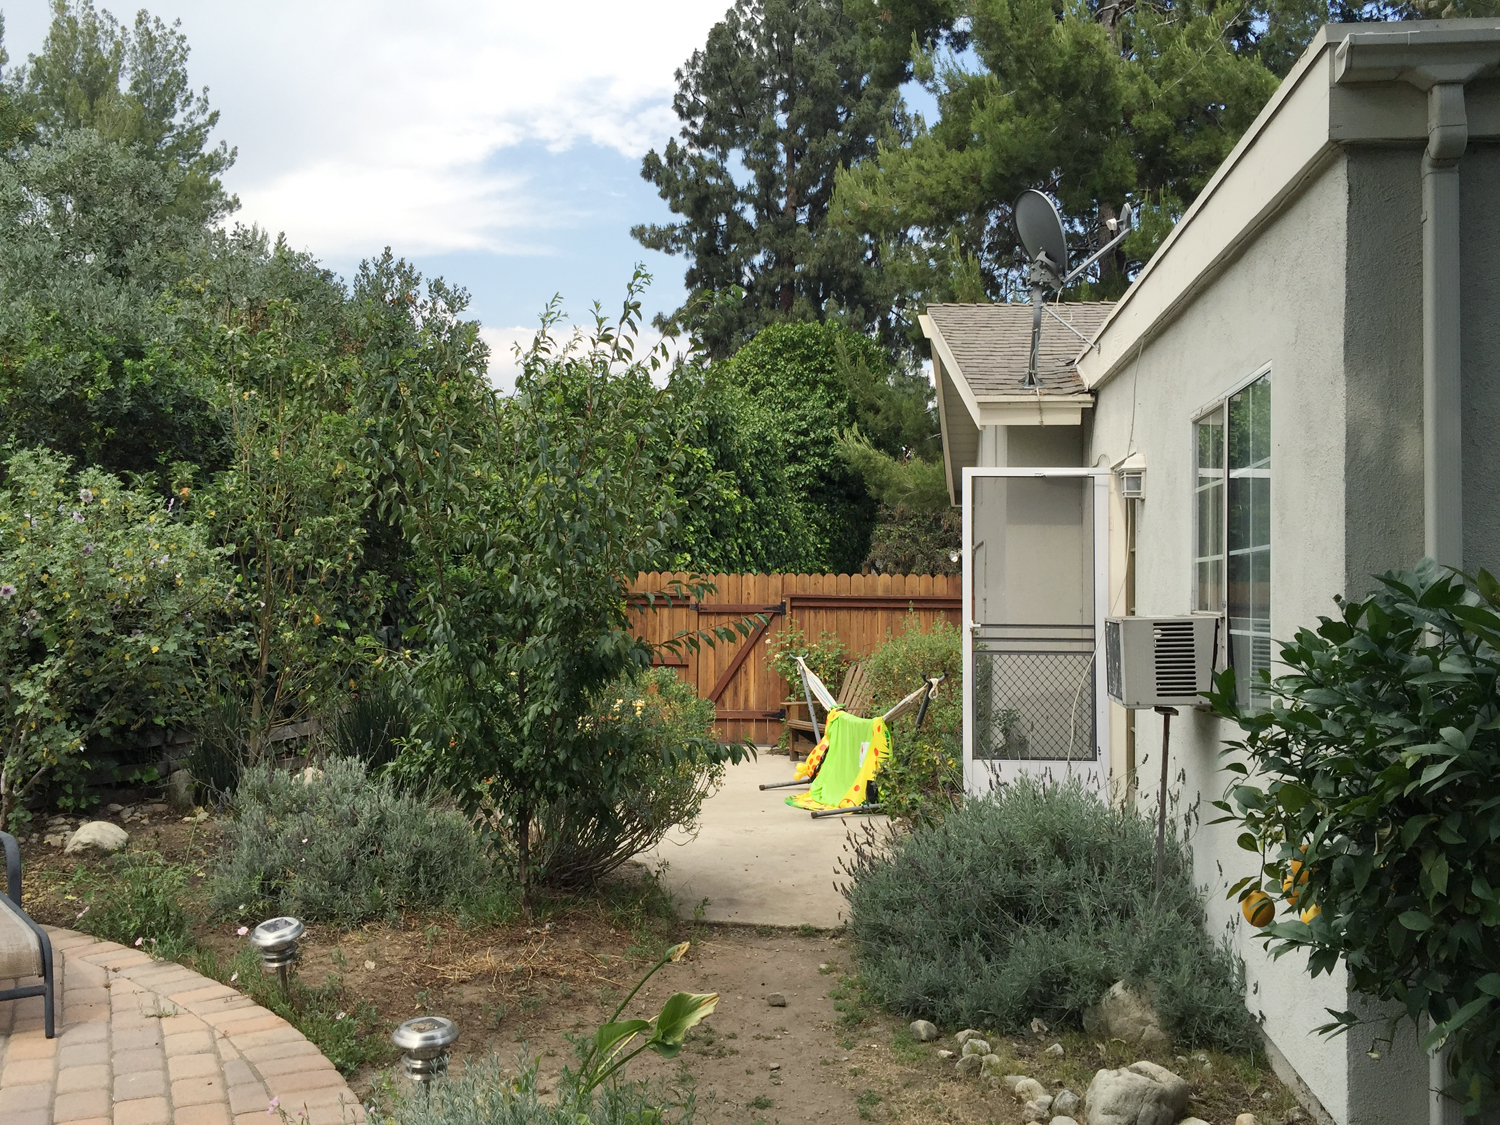
When we bought our little old house back in 2015, the backyard was not one of its main selling points. (You'll see what I mean at the end of this post.) It was overgrown with weeds and odd-shaped. In the northwest corner was a brownish-red brick paver patio that I solemnly vowed to eventually demo and replace with the likes of wood decking or limestone. Of course, that was before we renovated both bathrooms from the ground up, updated the kitchen, installed new HVAC, replaced the galvanized plumbing, refinished the hardwood flooring, painted the interior and exterminated the rats living in the attic. So needless to say, there was not much in the budget left over for the patio of my dreams. Six months down the line, we eventually saved up enough to redo the landscaping, created a garden space and bought new patio furniture. These simple updates went a long way in transforming the backyard and we finally weren't embarrassed to have friends over for barbecues.
Still, the patio remained in all its red, bricky glory. I considered adding an outdoor rug, power washing and overlaying some deck tiles like these from Ikea, but none of these felt like the right solution. Then one day, someone suggested lime washing and I figured it was worth a shot. So I drove to Home Depot and bought two quarts of lime wash and a cheap wooden brush for $75. For the next couple days, I painstakingly painted each brick by hand with a little 3" brush. Despite the inclement weather and phases of self doubt and painter's remorse, I couldn't be happier with the results. Most importantly, the three of us love spending time out here now more than ever, which was always the goal at the end of the day!


The lime wash I used is Romabio in Bianco White. The label claims that the wash is reversible up to 5 days with a power washer, so that was reassuring enough. The whole process took a couple days because I kept stepping back to examine it from afar. If one area looked too flat and opaque, I'd spray it over with the hose and use an old bristle brush to scrub down certain bricks to achieve the effect of depth and texture.


For more progress shots & behind the scenes, check out my Instagram Story highlights!
Chairs: Article // Patterned Pouf: World Market // White Cushion: World Market // Green Cushion: Ikea // Green Side Table: Ikea // White Side Table/Propane Tank Cover: YLiving // Propane Fire Pit: Amazon // Fire Pit Cover: Amazon // White Plant Stand: Amazon // Outdoor String Lights: Amazon


If you're wondering what this space looked like before, feast your eyes on these gems I dug up from the archives of an old phone. Some photos are from the very first time our realtor took us to see this little fixer upper, right after she cheerily cautioned us to "keep an open mind." I don't know if it was the dog poop or the air conditioning unit propped up with a stick but somehow we saw all of this and thought, yep we want to live here.